Tuesday, February 24, 2015

Photoshop Projects

Not to brag or anything... but these are pretty neat.


If you must know, the reason there are two of these butterflies is because it was specified to be in the GIF format, but I thought JPEG would look better.

Moving on.
All of these were--you guessed it--made using Adobe Photoshop CS6! Wow! Isn't it wonderful?

I'll start by touching on each project.
Project 1 is the last picture, the bottom picture, the picture with the huge semi-transparent "ONW" overlaid on a semi-transparent compass. I got to learn the basics of Photoshop, the very basic basics, and use transparency and overlaying skills. There was no difficulty in this project. In fact, a baby could do it with its hands behind its back while sleeping.
Okay, so maybe that last part is a lie.

Project 2 was our monarchs that we edited. We multi-selected symmetrical areas of the wings and modified the hues and saturation levels. The blur effect (which I accidentally made asymmetrical) was achieved through the use of the [Clone Stamp Tool], which is a pretty handy tool. By selecting a source point from which to copy, i.e. the wing, you can copy it and adjust how it is copied, i.e. the opacity and transparency levels. All in all, this was a fun project. Yes indeed.

Project 3 involved the [Mask] and [Gradient] tools. By utilizing the [Horizontal Type Mask Tool], and inverting the selection of the letters, I was able to "cut out" the letters from a gradient overlaid on a picture of the school.

Project 4, at the very top, took elements from all 3 projects to create a collage. Yeah, that was fun. Layer effects are fun.

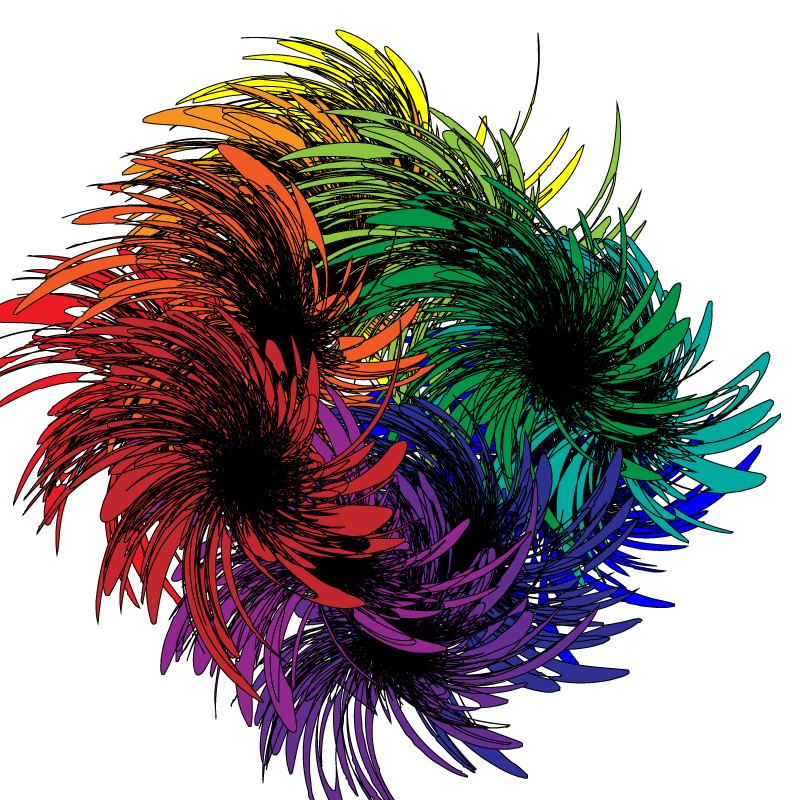
All of the projects are pretty easy to do, and with basic knowledge of the Photoshop toolkit, normal people (i.e. anyone who isn't a photo editor or graphic designer) can do cool things with photos, like removing people's mouths from their photos, leaving them with blank skin.

Tuesday, February 3, 2015

Personalized Logo Design

(Found out how to revert to my default font. Yes, this is it.)

This logo is meant to represent me. 
Excuse the sloppiness. There wasn't a paint bucket tool, so I improvised.

Each shape, color and font I used holds its own meaning. The triangles represent ambition, as with the color red, while blue represents logic. Hence the name "Against the Flow."The word "against" is typed in the sophisticated [Copperplate], while "the" and "flow" are in the simpler [Eurostile]. The opposite element between the blue and the red also pertains to that name. The meaning of the name itself is more or less self-explanatory: I'm different, and that's okay.

Tuesday, January 20, 2015

Stuff and Things with Color

Did you know: The color pink is proven to effectively reduce aggression in people. Why? Who knows? It just does. Go paint your home pink, it should make everyone quiet down a bit.

I'm starting the semester fresh with [Graphic Design], and first we touched on color, including color psychology. Color psychology has to be the most fascinating thing you may ever learn about color. Black and white, which you might have noticed are the main mediums of my blog site, represent sophistication (forget all the negative associations with black for a second please) and formality. And the innocence thing with white? Nope. 
Thinking about switching to green for the site. Green is associated with healthiness & wellness. 

IN OTHER NEWS, time for the usual attachment round-up:


Thursday, December 18, 2014

Final


This quarter entailed a lot of filming and fun. I think I speak for most of us when I say the chase scene videos were the best all quarter. We had to make up the craziest of stories and do the craziest things on campus, and I thought that was great. Last week, I talked about it with Shane Dolan, and he commented on how he saw us filming our chase scene. You can actually catch him in one of our shots (cameo appearance for the win). I liked filming a lot, because the filming had to be done often in creative ways. Storyboarding allowed my artistic ability to shine (though I'm probably half as good as Maria Caputo or my old friend Dylan Sirivongxay) and that was pretty nice. I've learned a lot of things about filming now, and with "director of photography" under my list of possible career choices, the things I learned will probably help going forward.

Web Project

The project was basically to follow step by step instructions with visual aid to construct a pre-defined site. There were some choices you had control over, but it was largely preordained in regards to site design and parameters. With the visual aid and the steps detailed, the project could hardly be called difficult. It was interesting too. The one thing about it that I didn't like was that I couldn't embed my chase scene! Web design is complex when done in certain ways, but there are easier ways of making sites, i.e. Weebly and Wix. I myself have a few published Weebly sites, but under the Weebly subdomain as I cannot afford my own domain name.

Thursday, December 11, 2014

Use Python!

Simple Python Interpreter Online Python Interpreter

A Python Interpreter

This is a simple online Python interpreter, built using the Skulpt engine (slightly modified by kwalsh).
Put your Python code below (copy-and-paste or just type it in directly), then click run.
Note: this isn't a complete version of Python. See below.


Output:
Some caveats:
  • The raw_input("...") and input("...") functions work a little differently here than in actual Python. They bring up a dialog box as a separate window, rather than having you type responses in the same window as the output. And, you must pass a string argument to each function.
  • The input("...") function only accepts integers and floating point numbers. Normally, the Python input("...") function would accept any expression as input, such as quoted strings, variables, arithmetic operators, etc.
  • This is a very incomplete implementation of Python. There are likely bugs, and many Python features are missing. But it should work for basic arithemtic and strings, and should be sufficient for at least some simple programs.

Simple commands:
print ("[what you want to appear as text]")
variable = raw_input("[question to be answered in text to define a variable value, should be words]")
The variable may now be used like so:
name = raw_input("What's your name?")
print ("Hello, " + name + ".")

Or:
name = raw_input("What's your name?")
favfood = raw_input(name + ", what's your favorite food?")

You can use a variable value and divert it to separate uses:
if favfood == "Pasta": print ("Mine too!")
if favfood == "Gorgonzola": print ("No thanks!")

Have fun!

Thursday, December 4, 2014

The Chase Scene


I have now learned that cameo appearances are fun faking injury is fun acting requires collaboration. You can't just say "oh yeah, well we should do this;" you have to agree in order to really get your video moving. Collaboration adds more "life" to the video, if you will. This can be applied to every further project I undertake. [Also, we need to work on our sharing skills.]
I've learned to really cut back on the jump-cut issues as well.

In this video, our entire group was acting. This made the video a lot more energetic, and enhanced realism. I mean, in what universe can you have a person being chased by another without more people around?
We'll have to improve on our collaboration in a few more ways, though. We need to work on planning in advance for sure.

*Side note: Chase scenes are fun!*